
UPDATE: It seems freevpn.me no longer works.
UPDATE: Looks like they are back up.
*Almost all files referenced in this article can be downloaded at the bottom of this article.
Installing the VPN package
Run the following command to install openvpn.
pacman -S openvpn
Installing the configuration files
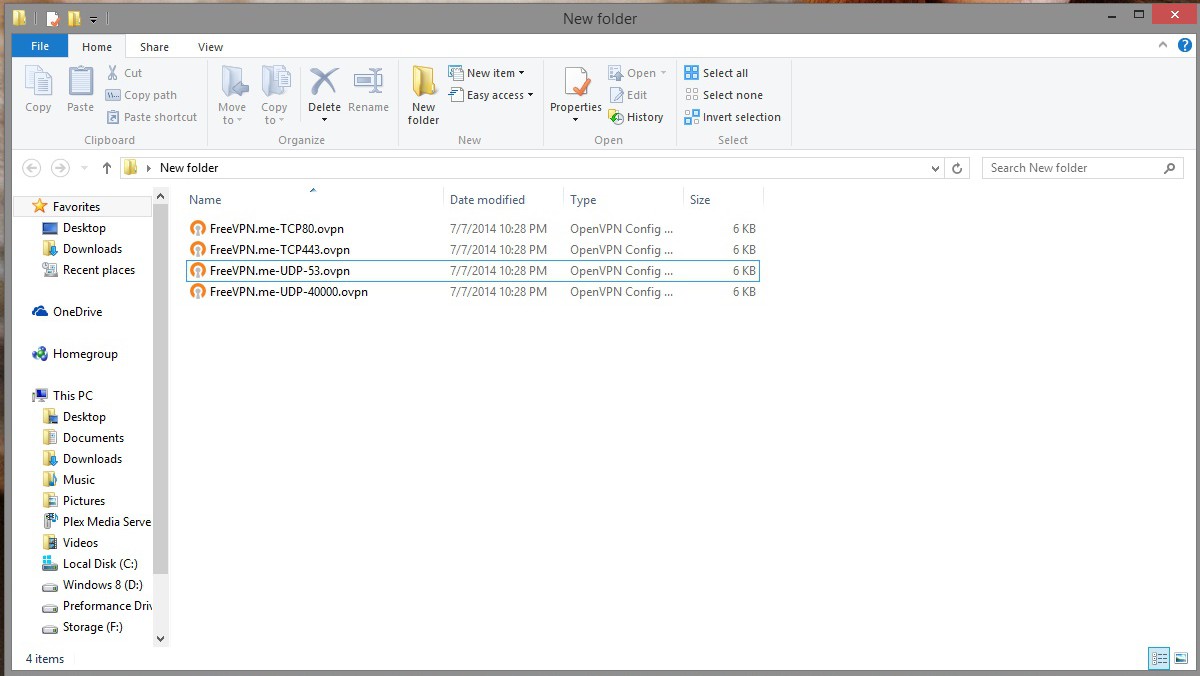
You should already have a directory located at /etc/openvpn, if not create it. Then make another sub directory within /etc/openvpn named configs. Next download the vpn config bundles from the vpn service you want to use. In this case we will be using FreeVPN.me. They can be downloaded here They should look something like this.
Next we have to edit each one and replace the line
auth-user-pass
with these 2 lines
auth-user-pass /etc/openvpn/configs/vpnbook.auth
auth-retry nointeract
in every file.
Creating a password file for automated startup
Create an empty file in your /etc/openvpn/configs directory named vpnbook.auth. Add the username followed by password on the next line to the file. For example:
freevpnme
dG74iC
Creating a very simple vpn service
Create another empty file named vpn.service in /etc/systemd/system and this time add the following to it.
[Unit]
Description=StartVPN
Requires=network.target
Wants=network.target

[Service]
ExecStart=/bin/openvpn --config /etc/openvpn/configs/FreeVPN.me-UDP-40000.ovpn
StandardOutput=syslog
SyslogIdentifier=OpenVPN
User=root
Group=nobody

[Install]
WantedBy=multi-user.target
Starting the service now and automatically on bootup
Run the following commands.
systemctl start vpn
systemctl enable vpn
Enjoy your free vpn!
To make sure your vpn is running run the command
ip addr
You should see a new adapter tun followed by a number, for example “tun0”. This will show the new IP address associated with that adapter. If you want any applications to use the vpn make sure they bind to this IP.
Download all files: freevpn.